Table of Contents
Practical 1: Installing XAMPP
Practical 1: To be demonstrated on Thursday 9th February, 2012.
Lecturer: Dr Chris P. Jobling.
THIS PRACTICAL HAS BEEN SUPERSEDED BY THE EG-259 VIRTUAL MACHINE
See the instructions in http://gitbub.com/cpjobling/eg-259-vm.
In this practical exercise we will take you through the installation of the LAMP software bundle. For the purpose of this exercise we will install the Apache Friends XAMPP package for windows. The reason for this choice is that XAMPP is a simple to install and use implementation of the basic tools needed for web applications development.
XAMPP consists of:
- The Apache Web Server
- PHP and Perl
- The MySQL Database
- phpMyAdmin – a web-based tool for database administration
- An FTP server
All tools are preconfigured for use on a Windows or Linux1).
In this exercise, we shall simply install the system and complete the basic configuration. I will then walk you through the configuration files for the Apache web server. In later exercises, we will install various web applications on top of this platform which will require us to explore the other tools. The idea is that at the end of this module, you will have your own copy of the industry standard web server and several useful web applications which you can configure and use for the coursework and homework exercises.
Contents
The session will have the following parts:
Explore the XAMPP Web Site
We will start by exploring the XAMPP web site.
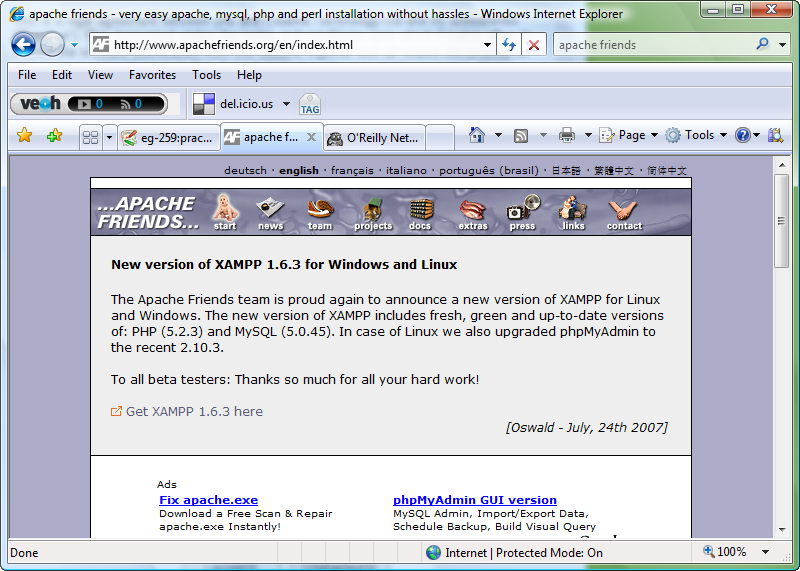
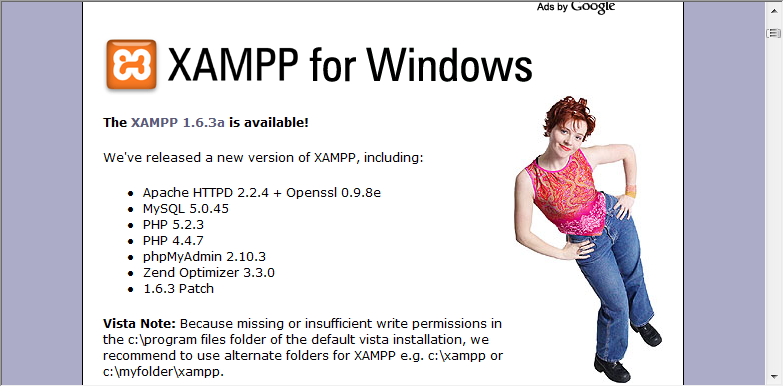
The first step is to go to the Apache Friends web site (www.apachefriends.org/en/index.html) and download the Windows installer.
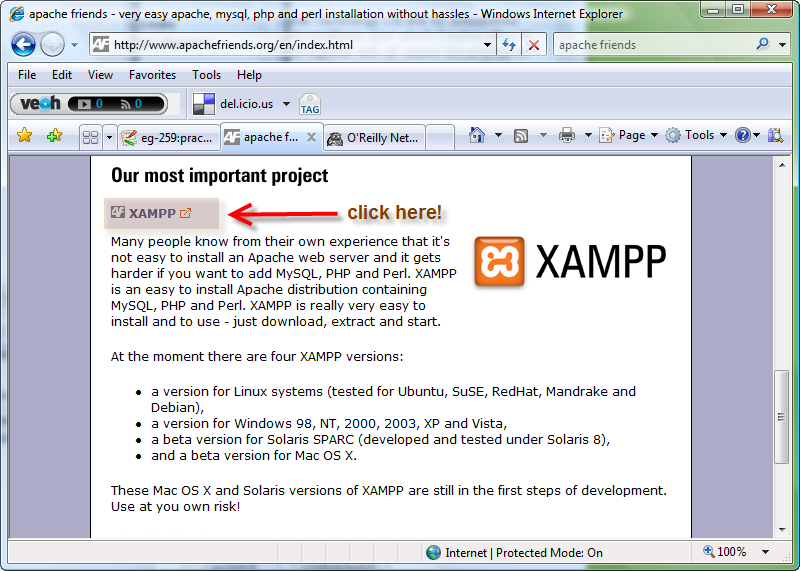
You will find the link to XAMPP towards the bottom of the home page. Read the text as you scroll to it!
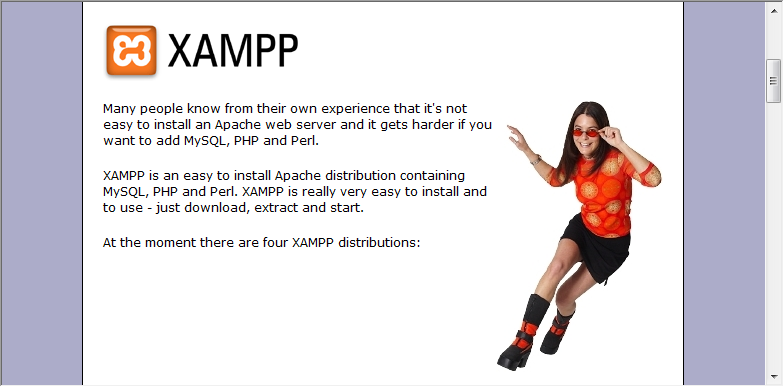
When you have read the text, follow the link labelled xampp to the XAMPP home page:
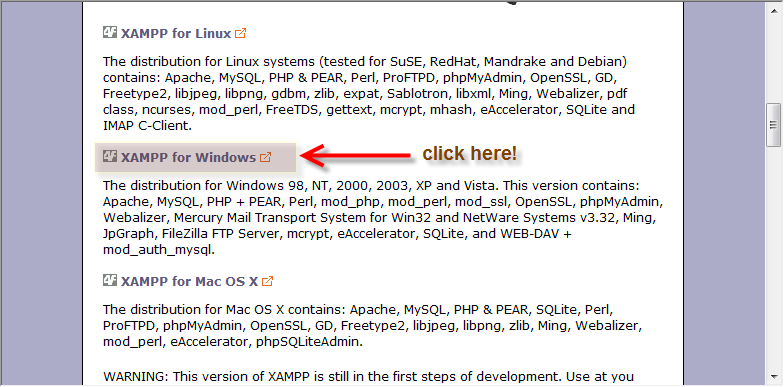
Scroll down to the page and note that there are versions of XAMPP for Linux and Windows as well as experimental versions for Macintosh OS X and Solaris. These instructions assume that you'll be installing for Windows, so we'll select that option:
The link will take you to this page:
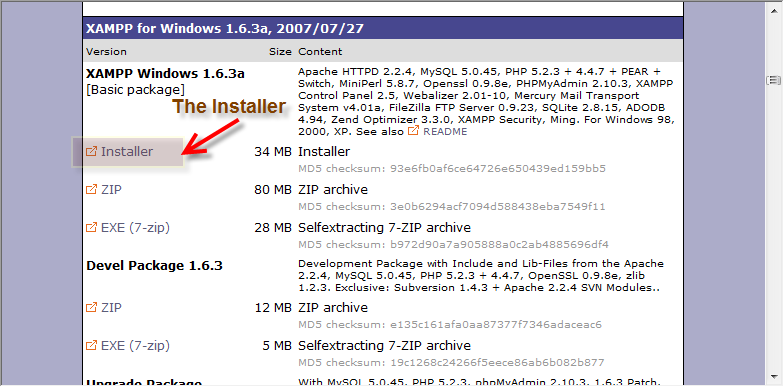
Here you will find links to the windows version of XAMPP as a windows installer, a zip file and a self-extracting 7 zip file. You will also find several add-on packages and a version of XAMPP called XAMPP lite that you can install if you prefer a version that can be installed for the puposes of this module and then deleted2) and installation instructions. For the purposes of this exercise, I will show you how to install XAMPP using the installer. At this point you may prefer to follow the detailed installation instructions provided on the Apache Friends site. If you do this, come back to this page when you're done and follow the installation instructions that start at Configuring XAMPP.
Downloading XAMPP
To install XAMPP, we first have to download the installation kit. For this illustration, I will be using the Windows Installer which you'll find by following the link shown here:
This will open a new window to Source Forge and eventually a File Download - Security Warning dialogue window will appear3):
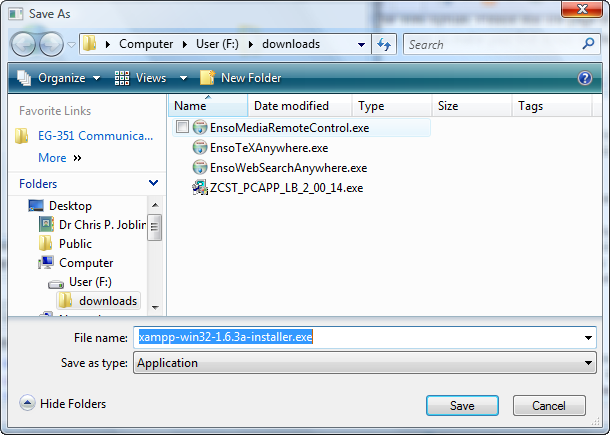
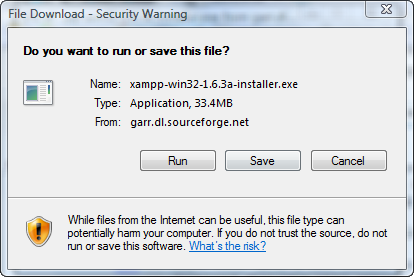 . It is possible to run the installer from this dialogue, but in my experience (particularly if you are running Vista), you are better of selecting the Save option. I do the latter, and simply save the file to my downloads folder. The download is about 33.4 MByte, so depending on your Internet connection, this may take some time.
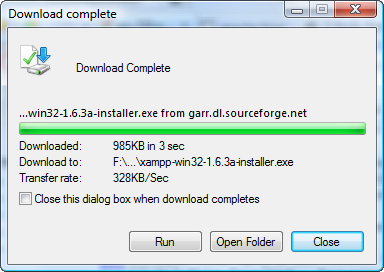
When the download is complete, I choose the Open Folder option:
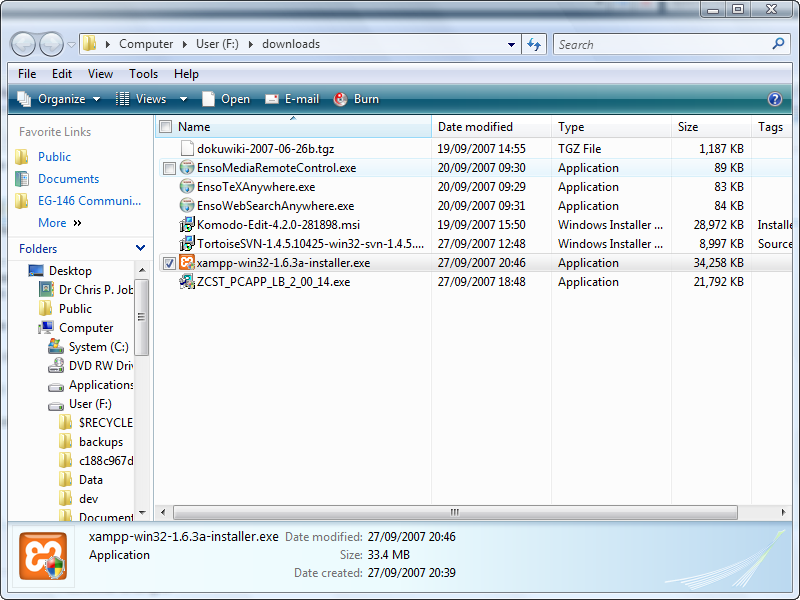
and note that I now have the XAMPP installer in my Downloads folder.
Installing XAMPP
Having downloaded the XAMPP installer (version 1.6.3a at time of writing), we can now install it. This is straightforward on Windows 2000 and XP but a bit trickier on Vista. We first need to decide on an installation location.
On Windows 2000 and XP, the default installation directory will be C:\Program Files\xampp but for Vista, it is recommended that you use use c:\xampp. However, for ease of later configuration, I would recommend that you use c:\xampp anyway! To install XAMPP you simply launch the installer by double clicking it4).
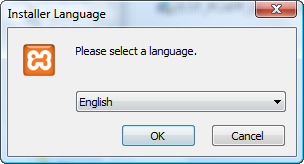
After a few moments, a language selection dialogue box should appear:
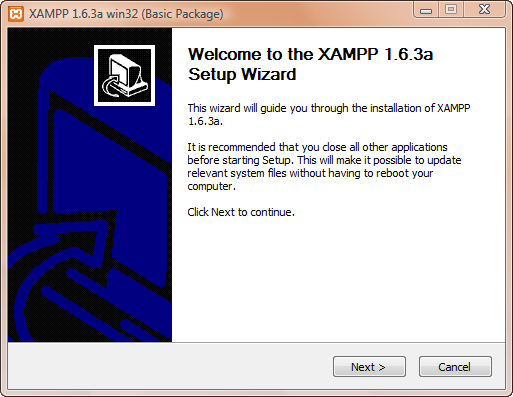
I chose English, but other languages are available. After making your choice the XAMPP installer wizard should appear:
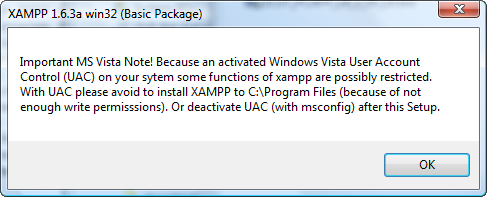
If you are running the installer on Vista, the following warning dialogue will appear. It simply states that you should install XAMPP in some location other than c:/Program Files which is protected under the new User Access Control feature of Vista. I suggest that you heed the warning and install in c:/xampp 5)
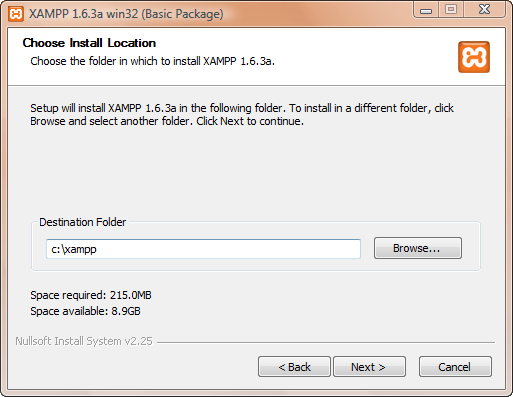
On clicking the OK button, the installation location dialogue will appear:
I chose the default (for vista) c:\xampp\ and press the Next > button.
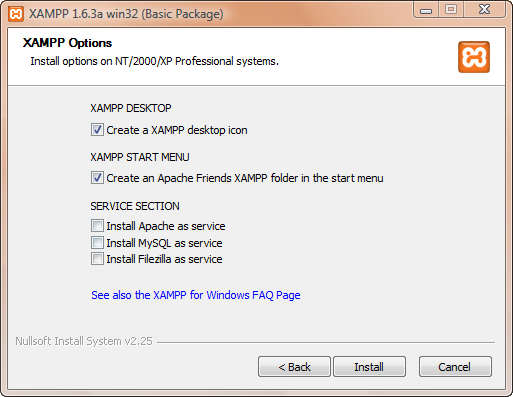
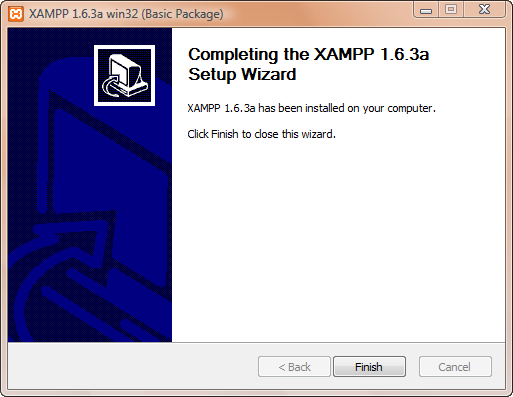
The next dialogue give various options for setting the configuration of the XAMPP server which includes setting Apache (the web server), MySQL (a relational database) and Filezilla (an FTP server) as services6). For security reasons, it is probably best to un-check all of the services (they can be turned on at any time later) and accept the offers to create a desktop icon and the XAMPP start menu. When you're ready, press the Install button. At this point, XAMPP will start to install, and you will see all the files that it creates scrolling past in the installer dialogue. You will also see the odd command window flash open and close again as XAMPP is configured for its first run. After a few minutes, the final dialogue screen should appear.
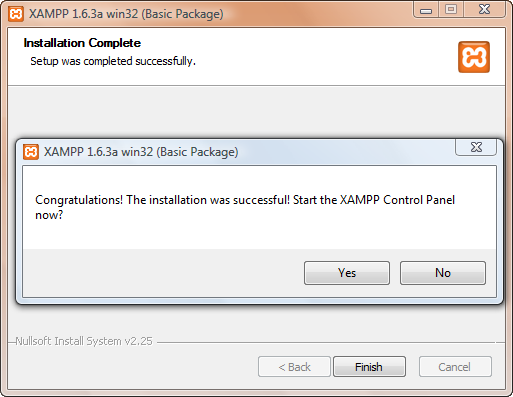
Press the Finish button. The following dialogue should appear offering to start the XAMPP control panel.
If you are running windows 2000 or XP, it's ok to click Yes and jump to Configuring. If you are running Vista, click No. In either case, the installer should now finish.
Starting the XAMPP Control Panel in Vista
After the XAMPP installer finishes its work, it will leave a shortcut to the XAMPP control panel application on your desktop.
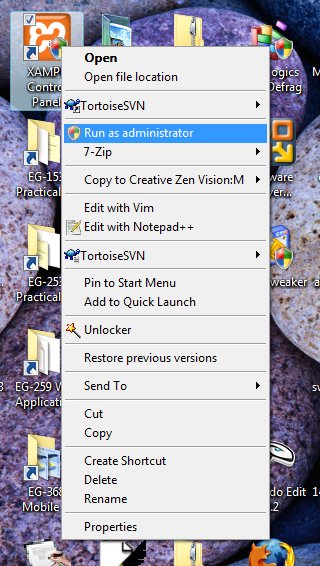
On Windows 2000 or XP you simply double click this to start the XAMPP control panel. In Windows Vista, the XAMPP control panel needs to open with Administrator privileges7). So to start XAMPP, right-click the XAMPP control panel icon and select Run as administrator.
If you are prompted for the Administrator password, enter it and the XAMPP control panel should start up.
Running XAMPP
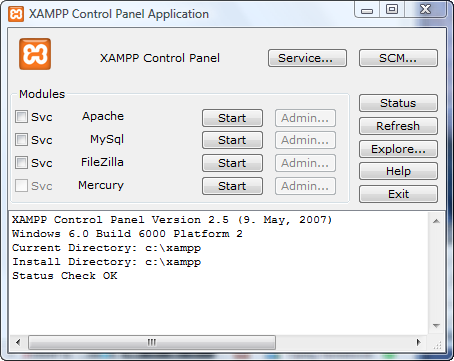
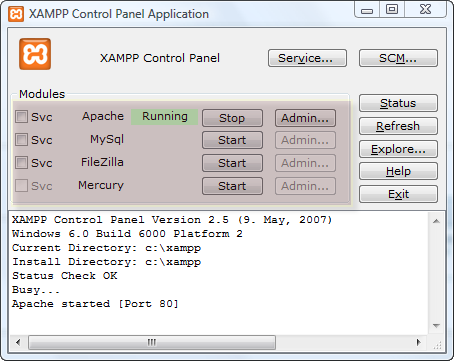
When the XAMPP starts up, you are presented with the following control panel.
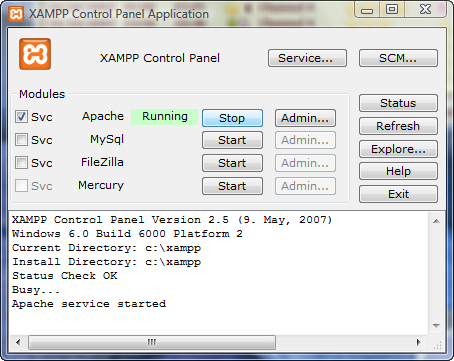
You can do a lot from here including starting and stopping all of the installed services, registering the services with Windows service manager so that they will automatically start when Windows starts, or setting the XAMPP control panel itself as a service so that it will start automatically and always be available in the notification area of the task bar. I will leave you to explore these options for yourselves. For now we simply wish to start the Apache web server so we press the Apache start button (highlighted in the figure above). If all is well, the control panel should look like this:
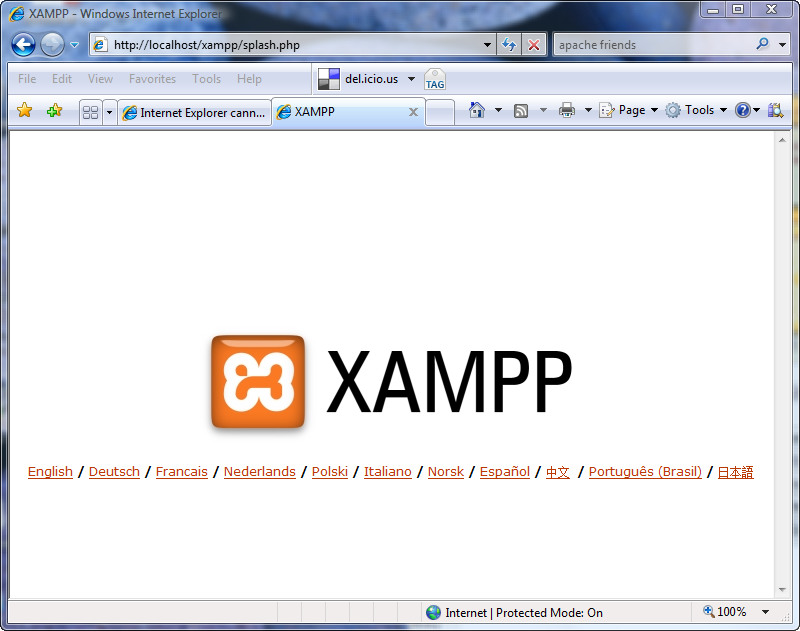
The control panel tells us that Apache is running on port 80, so let's test this with a web browser. Open a web browser and navigate to http://localhost/8). You should see the XAMPP language selection page.
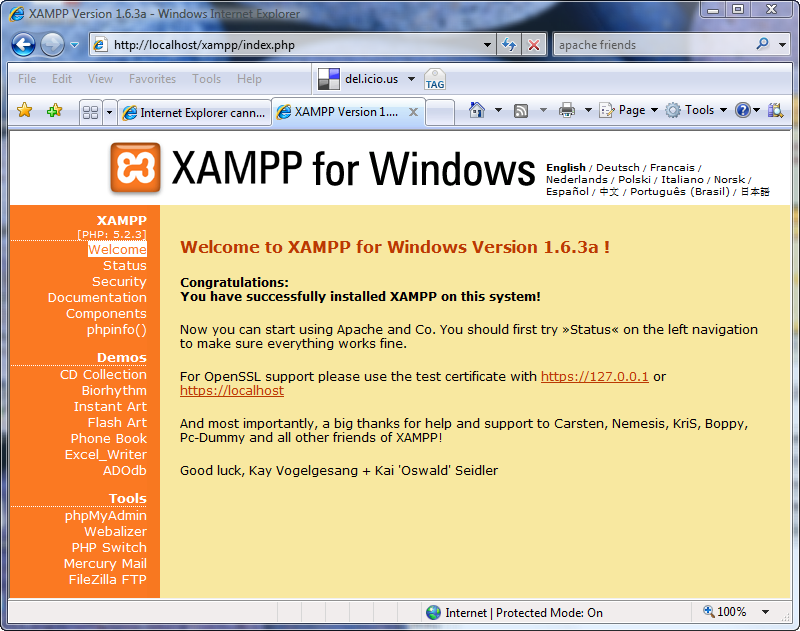
Choose the language for your installation (I chose English!) and you will be presented with the XAMPP welcome page:
Once you have selected your language, this welcome page will become your home page and will be shown whenever you visit http://localhost/. Your XAMPP installation is now complete.
Exploring the XAMPP Installation
One it is installed, XAMPP can be controlled from the XAMPP Control Panel and the various web services and web applications can be maintained via web applications (mostly PHP scripts) accessible from the Home Page.
The XAMPP Control Panel
The XAMPP control panel is used to control the various services that are provided in an XAMPP installation. From here you can start and stop the Apache web server, MySQL database, FileZilla FTP server and the Mercury mail server.
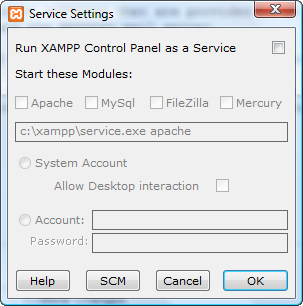
Note that each service is accompanied by a check box labelled Svc. By selecting this, you can have the corresponding service installed as a service, which means that Windows will automatically start the service at system startup. The Service button opens a secondary control panel which looks like this:
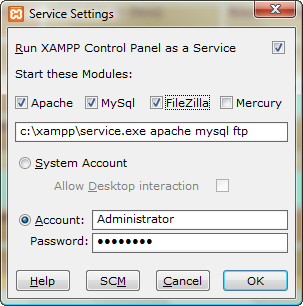
Form here you can check the Run XAMPP Control Panel as a Service check-box which will have the XAMPP Control Panel start up automatically on system reboot (an XAMPP icon will appear in the notification area). When you check this link, the additional check-boxes become active and you can install (or un-install) the XAMPP services. You can also specify which user account will effectively run the services: here I have set this to my administrator account.9)
The other XAMPP Control Panel buttons are:
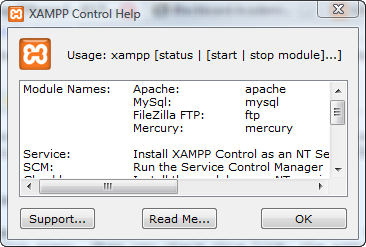
- The Help button opens this dialogue:
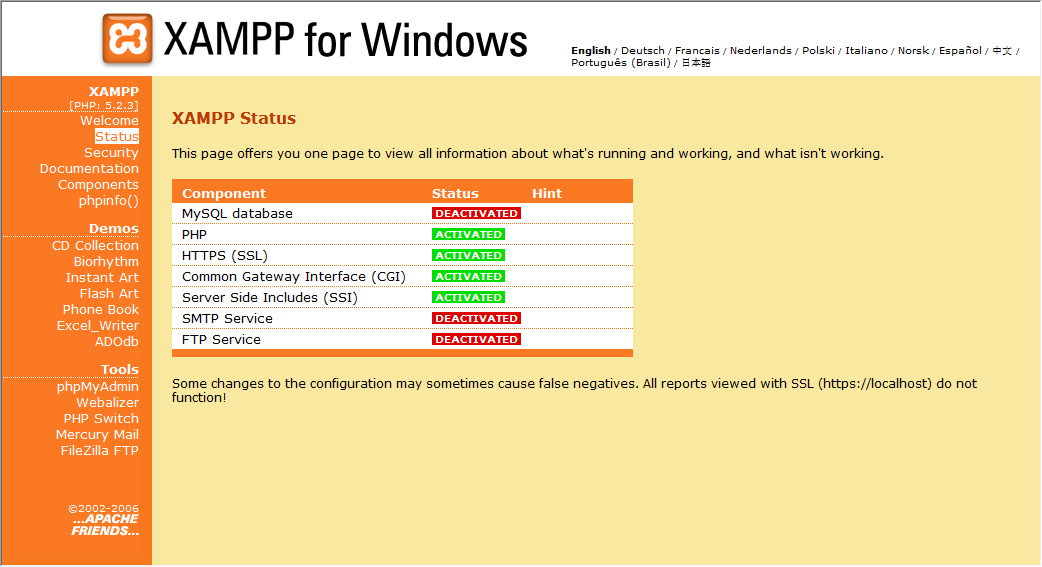
- The Status button shows the status and port numbers of the currently running servers:
- The SCM button opens the Windows services applet.
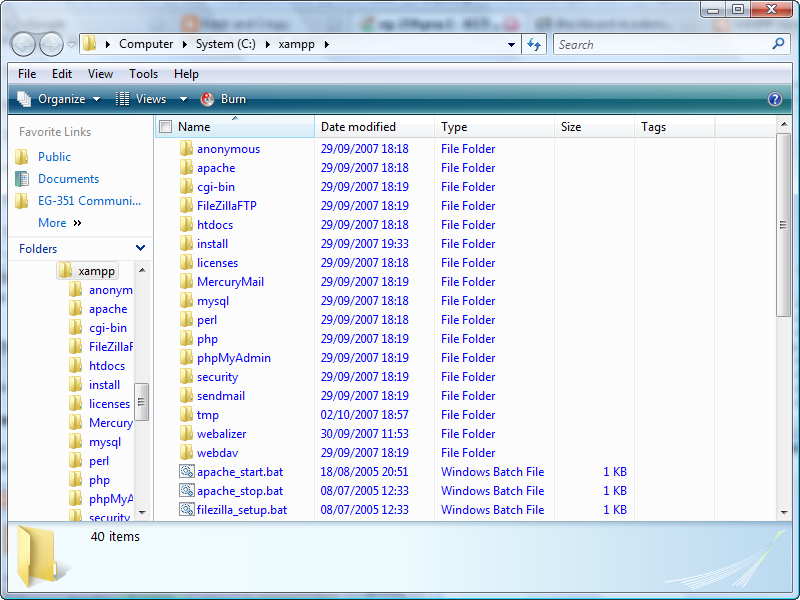
- The Explore button opens a Windows File Explorer open at the XAMPP installation directory
The Home Page
Once XAMPP is installed and Apache is running, you can access a Web-based Control Panel by opening your web browser at URI http://localhost/ which will automatically redirect to a localized control panel. Here is the English Language version (default): http://localhost/xampp/.
On the left of the home page is a menu which is divided into three parts. The top section includes links to web pages that provide status information for and documentation for the XAMPP installation itself. The middle section provides several examples (all PHP) which you can explore (some require MySQL to be turned on). The bottom section has links to various additional control applications, including phpMyAdmin which is a web application for administrating the MySQL database, and Webalizer, a tool for examining the Apache web server logs. We will leave you to explore the demos and will make use of phpMyAdmin later in the module. For now, we want to complete this section by quickly surveying the XAMPP status pages.
XAMPP Status
The XAMPP Status page summarizes the current status of the XAMPP installation showing which services are running. The list includes features of Apache which include PHP, Common Gateway Interface (CGI), Server-Side Includes (SSI) and Secure Sockets (SSL). This is encouraging as we shall be surveying a good selection of these in this module!
XAMPP Security
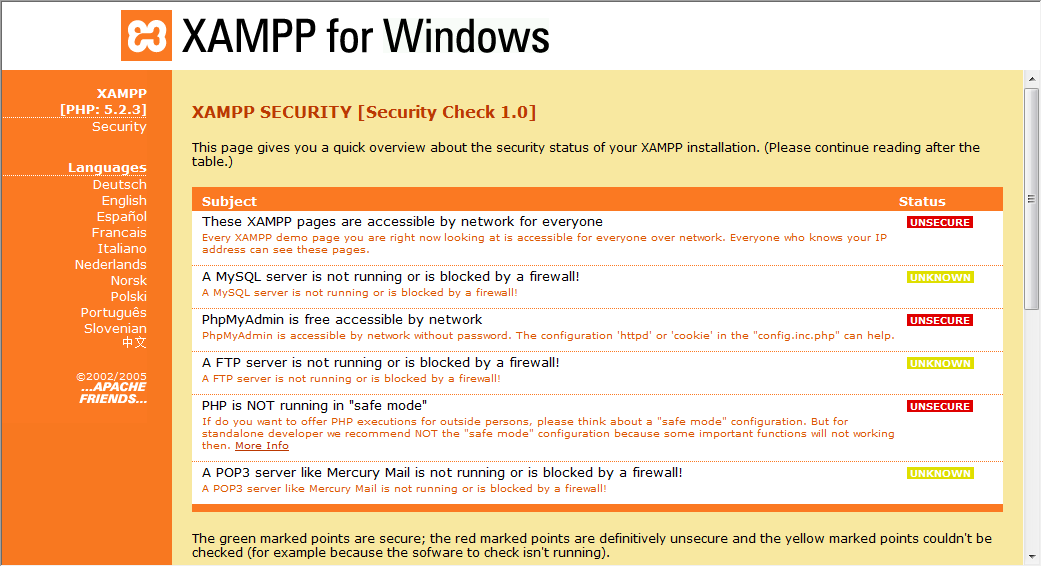
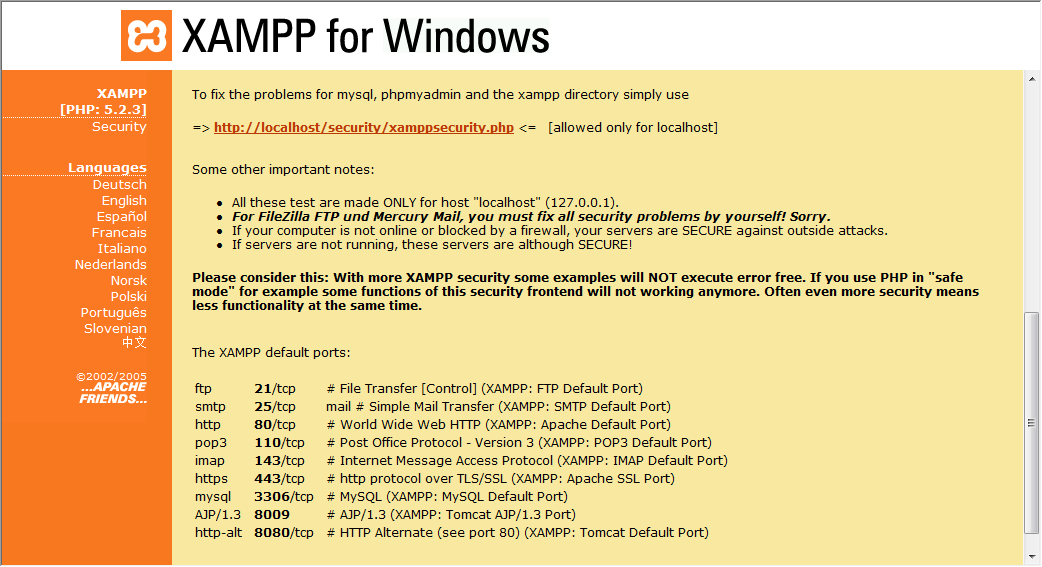
The XAMPP Security page surveys the vulnerabilities of the server installation. XAMPP is distributed on the assumption that it will be primarily be used as a development platform. Thus it is “wide open” and would be subject to attack if it was to be placed on the public Internet (or even a private intranet). You can observe this by following the link to the Security page. As you can see from the figure, the default settings are insecure.
However, because it contains industry standard tools, there is really no reason why XAMPP cannot be used as a deployed web server.10) If you scroll down the security page you'll see a link to a PHP application that can help you to secure this:
If you follow this link, XAMPP will offer to set a password for the home page itself, the root password for the MySQL database (if it's running), and will secure phpMyAdmin. Be careful if you take up these offers because if you forget the user names and passwords that are set, you will no longer have access to your XAMPP installation!
XAMPP Documentation
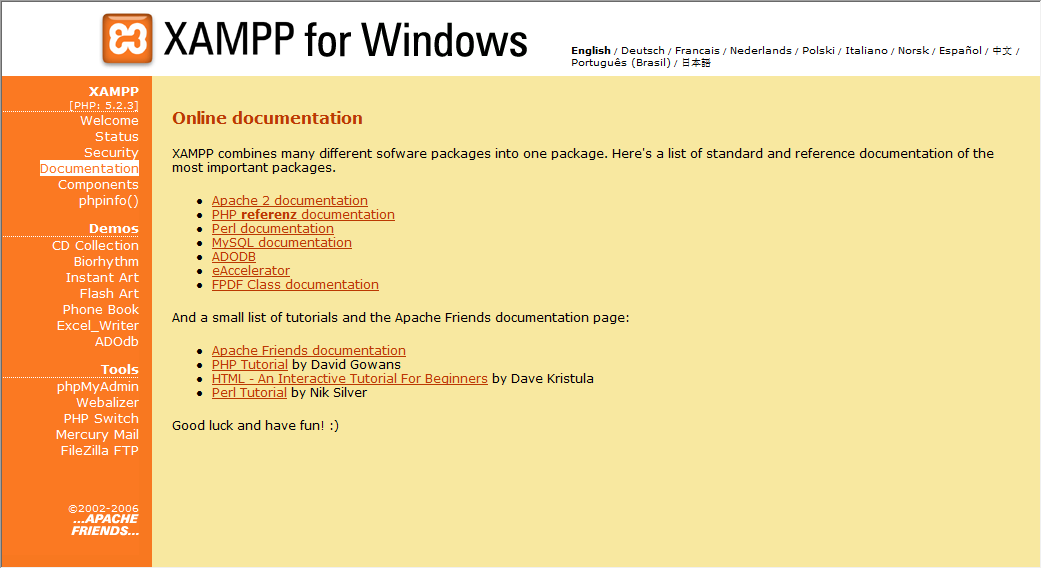
The documentation takes you to the Documentation page which simply contains links to on-line documentation for the XAMPP instalatiom. Unfortunately, to save disk space, XAMPP does not install any local documentation. You need to be connected to the Internet to follow these links.
Components
The components page simply provides a list of the installed components with links to the home pages of the developers.
phpinfo()
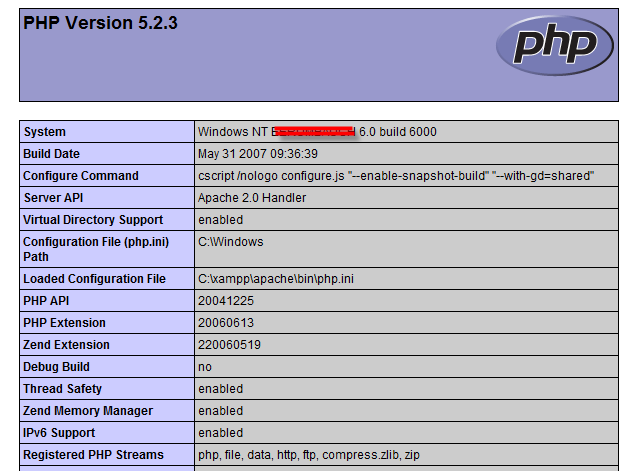
The phpinfo() link gives the output of the phpinfo() command. Scroll down, you may be surprised about how much information PHP has about it's host environment. This is of course an indication of PHP's power as a server-side scripting language. However, that information could be a gold mine to a cracker, so it would be wise not to have a link to phpinfo() on a public Internet or intranet site!
What's Next?
Installing a Web Application
.bat) files
